Hey there! As a supplier of the 3362 Trimming Potentiometer, I often get asked about how to calibrate this nifty little device. So, I thought I'd write a blog post to share some insights on the calibration method of a 3362 trimming potentiometer.
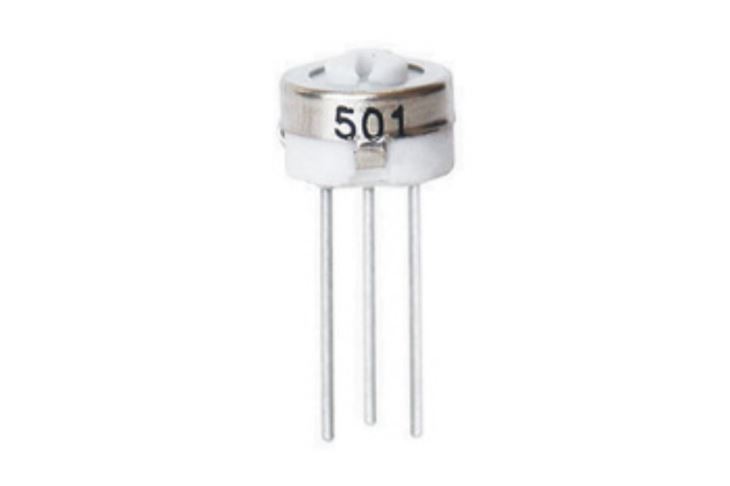
First off, let's quickly understand what a 3362 trimming potentiometer is. The 3362 Trimming Potentiometer is a single - turn trimming potentiometer. It's widely used in various electronic circuits for applications like adjusting voltage levels, setting gain, or fine - tuning other electrical parameters.
Why Calibration is Important
Calibration is crucial because it ensures that the potentiometer provides accurate and consistent resistance values. In electronic circuits, even a small deviation in resistance can lead to significant errors in the overall performance of the system. For example, in a precision measurement circuit, an uncalibrated potentiometer might cause inaccurate readings, which can be a big problem in fields like scientific research or industrial control.
Tools You'll Need
Before we dive into the calibration process, let's talk about the tools you'll need. You'll need a good quality multimeter. A digital multimeter is preferable as it offers higher accuracy and easier readability. You'll also need a small screwdriver that fits the adjustment slot of the 3362 trimming potentiometer. And of course, you'll need a power source that is appropriate for the circuit in which the potentiometer is installed.
The Calibration Process
Step 1: Set Up the Circuit
First, make sure the circuit in which the 3362 trimming potentiometer is installed is powered off. Then, connect the multimeter in parallel with the potentiometer. Set the multimeter to the resistance measurement mode. If you're using a circuit with a power supply, ensure that the power supply is set to the appropriate voltage level for the circuit.
Step 2: Initial Resistance Measurement
Once everything is set up, turn on the multimeter and take an initial measurement of the resistance across the potentiometer. This will give you an idea of the starting point. Note down this value.
Step 3: Adjust the Potentiometer
Using the small screwdriver, carefully turn the adjustment screw of the 3362 trimming potentiometer. Turn it slowly in one direction and keep an eye on the multimeter reading. As you turn the screw, the resistance value will change.
Step 4: Target Resistance Setting
If you have a specific target resistance value in mind, continue adjusting the potentiometer until the multimeter shows the desired value. This might take a few tries, so be patient. Make small adjustments and wait for the multimeter reading to stabilize after each adjustment.
Step 5: Verification
After you think you've reached the target resistance, double - check the value by taking a few more measurements. Make sure the value is consistent and within an acceptable tolerance range. If the value drifts or is outside the tolerance, make further adjustments until you get it right.
Other Considerations
It's worth noting that the calibration process might be affected by environmental factors such as temperature and humidity. For very precise applications, you might need to perform the calibration in a controlled environment. Also, if you're using the 3362 trimming potentiometer in a high - frequency circuit, you might need to take into account the frequency - dependent characteristics of the potentiometer.
Comparing with Other Trimming Potentiometers
The 3362 trimming potentiometer has its own unique features, but it's also interesting to compare it with other similar products. For example, the 3329 Trimming Potentiometer is another single - turn trimming potentiometer. It has a different form factor and might be more suitable for applications where space is a constraint. On the other hand, the 3386 Trimming Potentiometer offers a wider resistance range and might be a better choice for applications that require a broader adjustment range.
Conclusion
In conclusion, calibrating a 3362 trimming potentiometer is not a difficult task if you follow the right steps. It's an important process that ensures the accurate and reliable performance of your electronic circuits. Whether you're a hobbyist working on a small project or an engineer designing a complex industrial system, proper calibration of the 3362 trimming potentiometer can make a big difference.

If you're in the market for high - quality 3362 trimming potentiometers or have any questions about calibration or other related topics, feel free to reach out. We're here to help you with all your potentiometer needs. Contact us to start a procurement discussion and find the best solutions for your projects.
References
- Electronics textbooks on potentiometer operation and calibration.
- Manufacturer's datasheet for the 3362 trimming potentiometer.


