Hey there! I'm a supplier of 3329 Trimming Potentiometers, and I've seen a bunch of folks scratching their heads about how to replace these little guys. So, I thought I'd put together this blog to walk you through the process step by step.
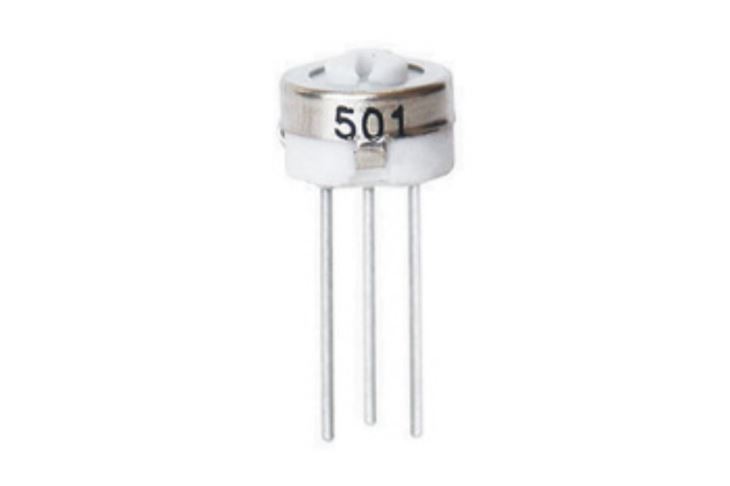
First off, let's talk a bit about what a 3329 Trimming Potentiometer is. It's a type of variable resistor that you can use to adjust the electrical resistance in a circuit. These are super handy in all sorts of electronic devices, from audio equipment to power supplies. They're called "trimming" potentiometers because you usually use them to make fine adjustments to a circuit's performance.
Why You Might Need to Replace a 3329 Trimming Potentiometer
There are a few reasons you might need to swap out your 3329 Trimming Potentiometer. Maybe it's just old and worn out, and it's not giving you the accurate resistance values it used to. Or, perhaps it got damaged somehow, like if there was a short circuit or it got physically banged up. Sometimes, you might also want to replace it to change the settings of a circuit, like adjusting the volume on an amplifier or the output voltage of a power supply.
Tools You'll Need
Before you start replacing the potentiometer, you'll need to gather a few tools. Here's what you'll need:

- Soldering Iron: This is used to heat up the solder and remove the old potentiometer and install the new one. Make sure it's a good quality one with a fine tip for precise work.
- Solder Sucker or Desoldering Braid: These are used to remove the old solder from the circuit board so you can take out the old potentiometer. The solder sucker is a hand-held device that sucks up the molten solder, while the desoldering braid is a copper mesh that wicks away the solder.
- New 3329 Trimming Potentiometer: Of course, you'll need a new potentiometer to replace the old one. Make sure it has the same resistance value and pin configuration as the old one.
- Flux: Flux helps the solder flow better and makes the soldering process easier. You can get flux in liquid or paste form.
- Wire Cutters: You'll need these to trim any excess leads on the new potentiometer.
- Magnifying Glass: This can be helpful if you're working on a small circuit board or if you have trouble seeing the details.
Step-by-Step Replacement Process
Now that you have all your tools ready, let's get started with the replacement process.
Step 1: Prepare Your Workspace
First, find a clean and well-lit workspace. You don't want to be working in a cluttered area where you might lose small parts or accidentally damage your circuit board. Make sure your soldering iron is plugged in and heating up. It usually takes a few minutes for the soldering iron to reach the right temperature.
Step 2: Identify the Potentiometer
Locate the 3329 Trimming Potentiometer on your circuit board. It's usually a small, rectangular component with three pins. The pins are usually labeled, but if not, you can refer to the datasheet for the potentiometer to figure out which pin is which.
Step 3: Remove the Old Potentiometer
Once you've identified the potentiometer, it's time to remove it from the circuit board. Start by applying a little bit of flux to each of the pins. Then, heat up the first pin with your soldering iron until the solder melts. While the solder is molten, use your solder sucker or desoldering braid to remove the solder from the pin. Repeat this process for the other two pins.
Once all the solder has been removed from the pins, you should be able to gently pull the old potentiometer out of the circuit board. If it's still stuck, you might need to heat up the pins again and try to wiggle it loose.
Step 4: Clean the Pins and Holes
After you've removed the old potentiometer, you'll need to clean the pins and holes on the circuit board. Use a small brush or a piece of sandpaper to remove any excess solder or debris from the pins. Then, use a toothpick or a small wire to clean out the holes in the circuit board. This will make it easier to install the new potentiometer.
Step 5: Install the New Potentiometer
Take your new 3329 Trimming Potentiometer and insert it into the holes on the circuit board. Make sure the pins are lined up correctly and that the potentiometer is sitting flat on the board. Then, apply a little bit of flux to each of the pins and heat up the first pin with your soldering iron. Once the solder starts to flow, add a small amount of new solder to the pin to secure it to the circuit board. Repeat this process for the other two pins.
Step 6: Trim the Leads
After you've soldered the new potentiometer to the circuit board, use your wire cutters to trim any excess leads on the potentiometer. You don't want the leads to be too long, as they could short out against other components on the circuit board.
Step 7: Test the Circuit
Once you've installed the new potentiometer and trimmed the leads, it's time to test the circuit. Plug in the power and see if the circuit is working properly. If it's not, double-check your soldering connections and make sure the potentiometer is installed correctly.
Other Considerations
- Orientation: Make sure you install the new potentiometer in the correct orientation. Some potentiometers have a specific orientation that's marked on the component or in the datasheet. If you install it backwards, it might not work correctly or could even damage the circuit.
- Alternative Potentiometers: If you can't find a 3329 Trimming Potentiometer, you might be able to use a different type of potentiometer as a replacement. For example, the 3362 Trimming Potentiometer or the 3386 Trimming Potentiometer might work in some cases. Just make sure the resistance value and pin configuration are compatible.
- Safety: When working with a soldering iron, make sure you follow all the safety precautions. Keep it away from flammable materials, and don't touch the tip of the soldering iron when it's hot. Also, make sure you're working in a well-ventilated area to avoid inhaling any fumes from the solder.
Contact Us for Your Potentiometer Needs
If you're in the market for a new 3329 Trimming Potentiometer or any other type of potentiometer, we've got you covered. We're a trusted supplier of high-quality potentiometers, and we offer a wide range of products to meet your needs. Whether you're a hobbyist working on a small project or a professional in the electronics industry, we can provide you with the right potentiometer at a competitive price.
If you have any questions or need help choosing the right potentiometer for your application, don't hesitate to reach out. We're here to help you find the best solution for your needs.
References
- "Electronic Components and Their Applications" by Albert Paul Malvino
- Datasheets for 3329, 3362, and 3386 Trimming Potentiometers


